
Bell peppers, with their vibrant colors and sweet taste, are popular table dishes for many kinds. Thanks to its ease of growing indoors, it’s also a good choice for anyone who wants to cultivate themselves. However, the whole lifecycle of growing bell peppers takes about 2 to 3 months. Want to have a quick start? This article will guide you through the bell peppers growing stages, offering insights and tips for a bountiful harvest.
Table of Contents
1. Germinating Bell Pepper Seeds (7-14 days)
The first step in the life of bell peppers begins with seed germination. This crucial stage sets the foundation for almost any healthy plant. To initiate the germination of Bell pepper seeds, place them in a container filled with high-quality moist potting soil, embedding them at a depth of approximately 1/4 inch. Gently sprinkle soil over the seeds and then cover the pot with transparent plastic to create a conducive environment for germination.
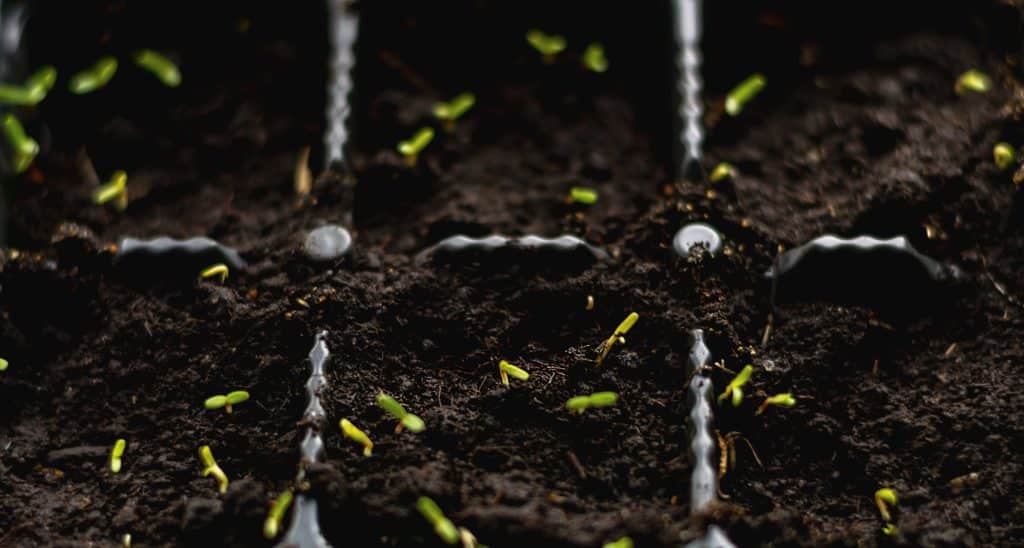
In less than 2 weeks, you should notice small sprouts coming out of the soil.
2. Nurturing the Young Seedlings (1-4 Weeks)
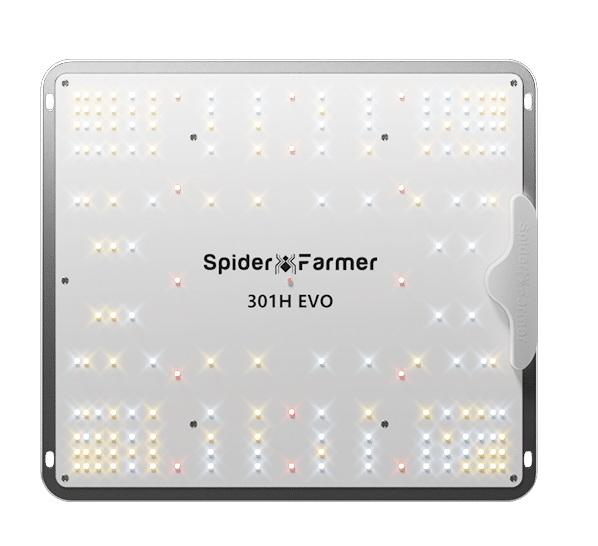
During these initial weeks, the seedlings exhibit slow growth and require a nurturing environment with ample light (up to 16 hours per day). Without natural lighting, you can consider a grow light whenever necessary. Also, you can see the development of leaves and branches, which indicates that the plant has begun to establish its foundational structure.
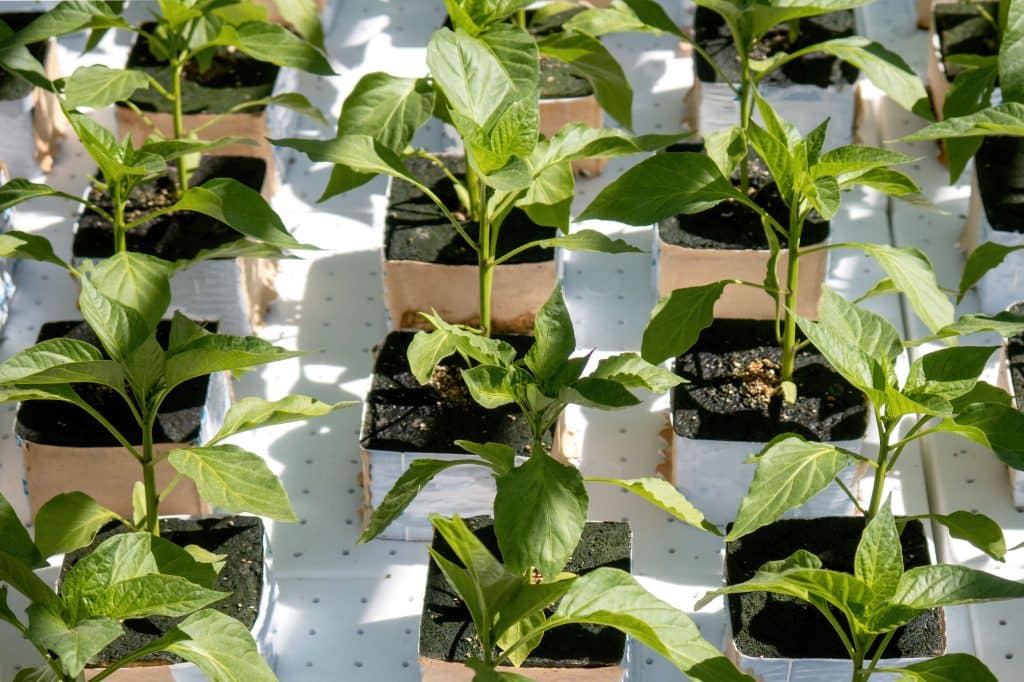
Seedlings are delicate; thus, appropriate care, including potential fertilization with a diluted all-purpose water-soluble fertilizer, is essential. A small inline fan can be used to create a gentle breeze to strengthen the young stems.
As the seedlings grow, you may look for the following signs and decide to transplant the seedlings:
- Development of True Leaves: Wait until the seedlings have at least 2-4 true leaves. These are the leaves that appear after the initial seed leaves (cotyledons).
- Strong Stem Formation: The seedlings should have sturdy stems, indicating they can withstand the transplanting process.
- Root Development: A good root system should have begun to develop. You can gently check the bottom of the seedling container to see if roots are appearing.
For a successful bell pepper transplanting, these tips can help:
- Harden Off Seedlings: Gradually acclimate your seedlings to outdoor conditions over a week or so. This process, known as hardening off, involves exposing them to the outside environment for increasing lengths of time each day.
- Choose the Right Time: Transplant on a cloudy day or in the late afternoon to reduce transplant shock. This helps prevent the plants from getting too stressed by the midday sun.
- Water Before Transplanting: Water your seedlings well a few hours before transplanting to ensure the soil is moist and the roots are hydrated.
- Dig Appropriate Holes: Make holes in your garden bed or container that are large enough to accommodate the root ball of each seedling. The holes should be spaced about 18-24 inches apart to provide adequate space for growth.
- Plant at the Right Depth: Place the seedlings in the holes at the same depth they were growing in their containers. Burying them too deep or planting them too shallow can stress the plants.
- Water Immediately After Transplanting: Water the plants thoroughly after transplanting to help settle the soil around the roots and eliminate air pockets.
3. The Vegetative Stage of Bell Peppers (6-8 Weeks)
Upon transplantation into a larger container or outdoor ground, the plant undergoes maturation, commonly known as the vegetative stage. This process can vary in duration, influenced by factors like sunlight, soil quality, and pest-free conditions.
It’s common to see a temporary slowdown in growth post-transplantation. Early flowers and fruits are often removed to concentrate on growth. Gradual acclimatization to outdoor conditions is important to prevent leaf damage. In this phase, maintaining the temperature around 69°F to 73°F (21°C to 23°C) is ideal for the best leaf development in bell pepper seedlings.
4. Flowering Stage (8-10 Weeks)
As the plant matures further, it starts producing yellow flowers along its stems. One exciting thing that happens during this stage is pollination, a critical process for fruit setting. Bell peppers are self-pollinating, meaning they do not require other plants or insects for pollination to occur. This happens naturally when pollen from a flower’s anthers falls onto its stigma. However, insects can sometimes assist in transferring pollen within the flower.
Gardeners can actively participate in this process through hand pollination to ensure effective pollination and potentially speed up fruit setting. Unfortunately, not all flowers will yield fruit, which is normal.
5. Fruiting Stage (10-14 Weeks)
Following the formation of flowers, the development of bell peppers begins. This is when the flowers, having been successfully pollinated, start to transform into the initial formations of bell peppers.
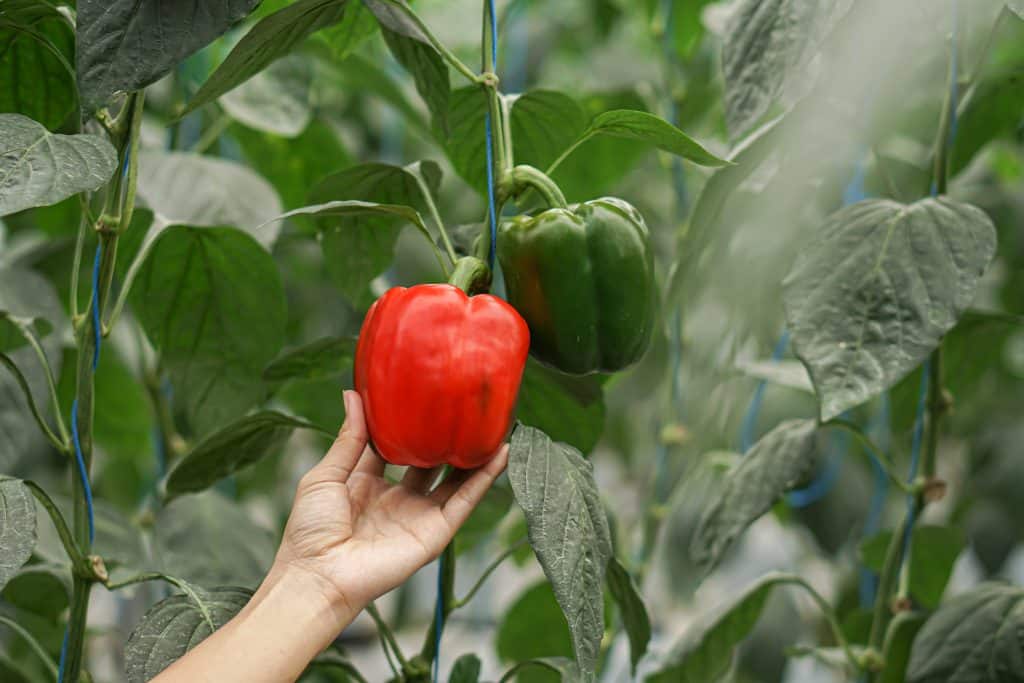
During this period, the focus shifts from growing flowers to nurturing and expanding these nascent fruits. Gardeners often witness significant changes as the peppers grow in size, change in color, and gradually reach maturity. Proper care during the fruiting stage, including adequate sunlight, water, and nutrients, is essential to ensure a healthy and bountiful harvest of bell peppers. Because bell peppers originate from tropical regions, they are less likely to bear fruit if the daytime temperatures exceed 85°F (29°C) or if the nighttime temperatures fall below 60°F (15°C).
6. Ripening Stage (14+ Weeks)
The final stage is the ripening of bell peppers, where they change color. Beginning as green, bell peppers will gradually lighten to yellow as the chlorophyll diminishes due to sun exposure. Once these peppers shift to a yellow hue, they become both sweeter and softer. Influenced by temperature and other conditions, ripening might take upwards of 30 days or more in certain cases.
The number of peppers a bell pepper plant produces can vary widely based on several factors, including the plant variety, growing conditions, and care provided. On average, a healthy bell pepper plant can produce anywhere from 5 to 10 peppers throughout its growing season.
The decision of when to harvest bell peppers rests with you, depending on your needs. Green peppers are often cheaper in stores due to the reduced time and effort needed for them to ripen. However, you can always wait for the red yields.
Wrapping Up
Bell peppers growing stages, taking about 2 to 3 months, start with the careful germination of seeds and progresses through nurturing the young seedlings. Transplantation is a critical step, demanding attention to timing and technique to ensure the young plants thrive. The vegetative stage sees the plants maturing, setting the stage for the crucial flowering and pollination phases, where the foundation for fruiting is laid. The fruiting stage is a period of visible change, culminating in the ripening stage, where peppers develop their final color and flavor. Each stage of growth requires specific care, making the process both a science and an art.







2 comments on “6 Bell Peppers Growing Stages”
Бонус за регистрацию в binance
Thank you for your sharing. I am worried that I lack creative ideas. It is your article that makes me full of hope. Thank you. But, I have a question, can you help me?
ciki
Sure! How can we help?